2020-12-12 The replacement of fluorescent tubes in the kitchen with LED straight tube lights. [長年日記]
After replacing the fluorescent tubes in the kitchen, the lights no longer came on, and I considered that the ballast (starter) was apparently malfunctioning.
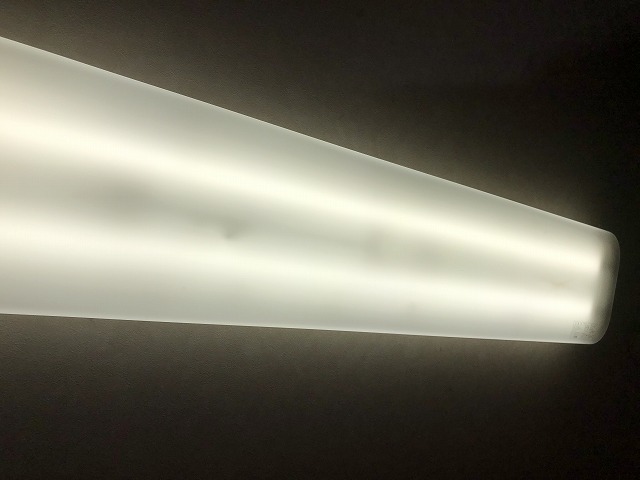
When we built this house, we didn't even have the idea of LED bulbs, and there was no such thing as a straight LED light to replace fluorescent tubes as we know them today.
I thought I would take this opportunity to change the circuit so that I could bypass (ignore) the starter and connect the LED straight tube light.To begin with, I don't know much about how fluorescent tubes and straight LED lights work (I couldn't find any information about them on the Internet).
So, this time, I used "Ohm Electric LED Fluorescent Lamp Straight Tube LED Lamp G13 40 Type Daylight Color Glow Only LDF40SS-D/17/23" to check it out.
How should I connect the LED straight tube light?
Now you have a rough idea of how to connect the wires.
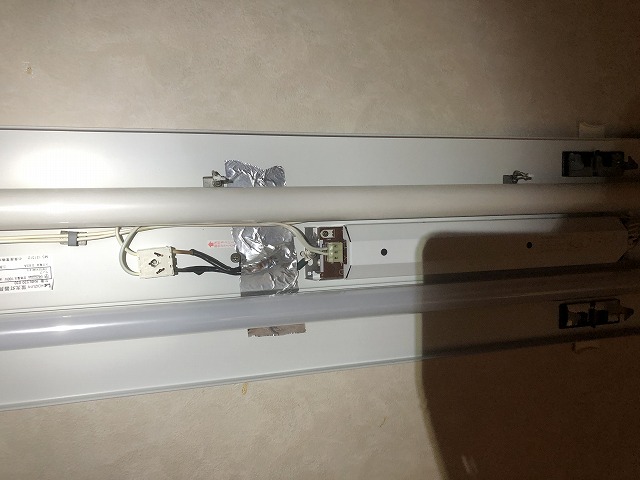
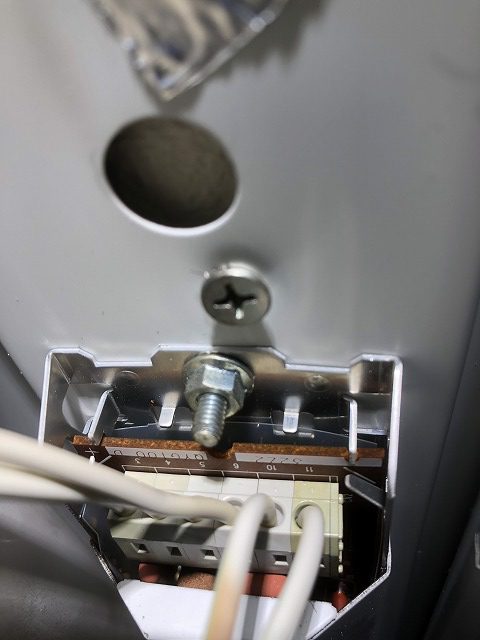
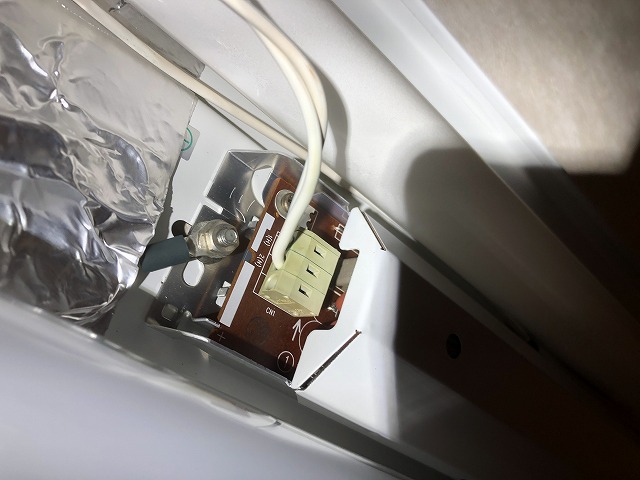
When I inserted a flathead screwdriver into the red circle, the wires came off.

This is how the wiring is numbered (I looked up the specs on the internet to get an idea).

Change this to the following.

Before disconnecting the wires, tag the wires with their numbers.
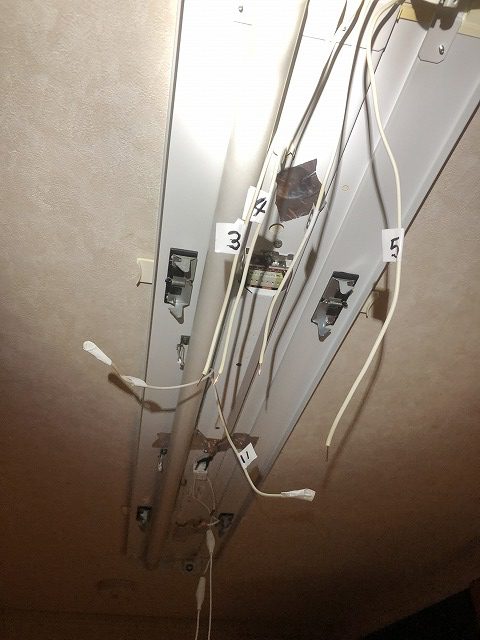
Soldering was difficult this time, so I used this kind of joining tool to connect the wires. Insert the dynamic wire facing the outer sheath, and crush the metal part with pliers.

I connected the wires and checked the lights.
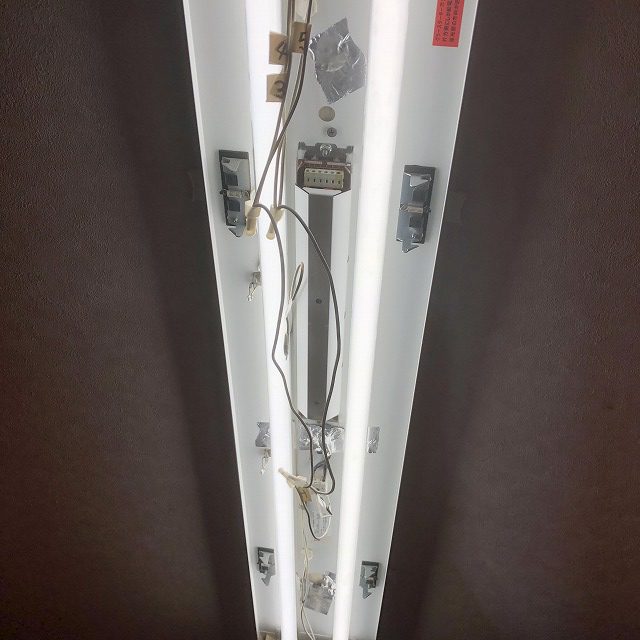
Now, the ballast (starter) is no longer needed. The standby power consumption will also be eliminated, which will save some power.
Note: If you reverse the direction of the LED straight tube light, it will short circuit. As you can see in the video, the reverse direction is because of a short circuit. You should put a fuse in the wiring (I just noticed this too, and I will take care of it later).
